Thursday 13 December 2007

Making linen cloth

I gave up cross-stitch years and years ago when I realised that although I stiched obsessively, I only ever put one project I'd completed on display. That I was more interested in the process than in owning something that was pretty but not practical. When I moved to the UK from Australia, my ex-husband asked me if he could keep that one project on display: a rather lovely large cross-stitch I had done, because he was attached to it. I agreed, deciding that I could make another for myself. But I had a problem finding a suitable linen fabric for it, until I realised that since the last time (years ago) that I did a cross-stitch, I had developed the technology to make my own. To make linen suitable for this project all I needed was a plain-weave fabric, set at 20 epi. I have absolutely ~~no~~ idea why it took me so long to make the connection.

Consequently, a week or so ago, I spent an entire evening in front of the television, warping 4 km of linen around a warping board. My thoughts were of two things as my side and arms ached from swaying from side to side over the warping board: the first was vaguely wondering why at times I think that this is an interesting, rewarding hobby. The second was that I really, really want a warping mill because it's easier and because I only have the capacity to wind 5 metre warps at the moment and that's not enough. I've had enough of playing with different types of yarn now and want to start working on multiple possiblities and projects from a single warp. Hence winding a 5 metre warp of linen when I only want to make 1.5 metres of fabric for the cross-stitch project.

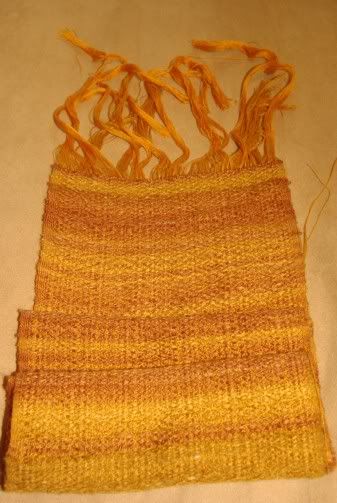
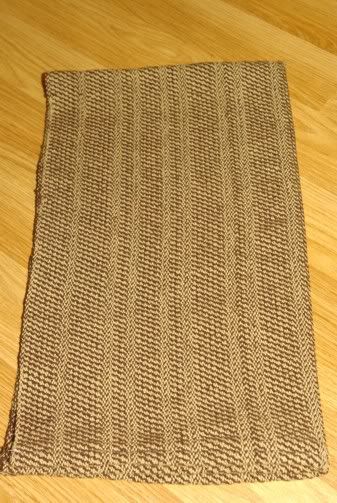
The linen is a lovely natural, slightly rough 6/1 linen, so it should give a nice natural, antique feel. Yes, I know I swore I'd never warp with a single yarn again the last time I did it, but I thought I'd perservere and try again. All of the linen I have is singles, and I thought it would be a chance to work on my technique of warping with singles.

Anyway, in case you were wondering what 4 kilometres of linen looks like...it looks like this:

Photo Sharing and Video Hosting at Photobucket

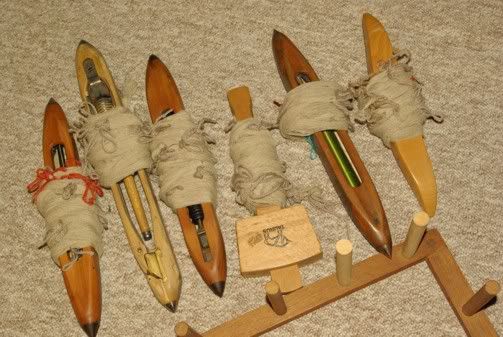
That's four groups of 120 ends and two groups of 110 ends, to give 700 ends in total. This means I'm finally going to use my loom to its full width. I tend not to chain my warps, particularly a springy single, because I find winding them around something handy like a shuttle keeps them under more tension and less likely to tangle.

I use a warping technique I've devised myself for difficult warps such as sticky yarns or singles, which could probably be summarised as a back-to-front-to-back warping technique. I find it reduces my errors and makes any easier to find while they're still easily corrected before weaving starts.

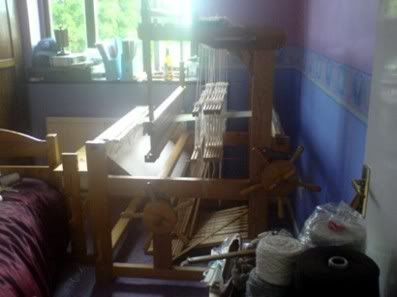
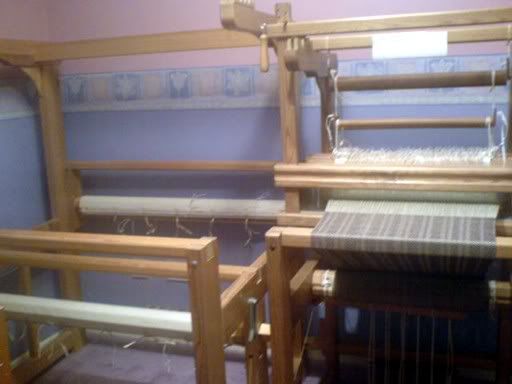
First, I tie the object the warp is held to to above the back beam, and insert the cross into lease sticks suspended from the castle.

Photo Sharing and Video Hosting at Photobucket

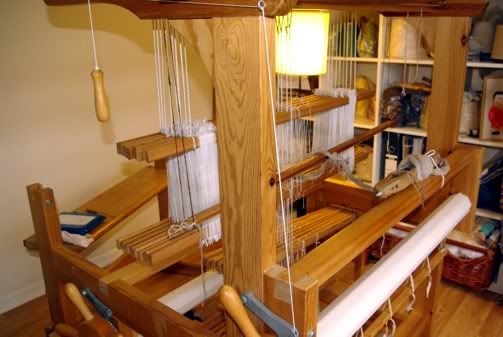
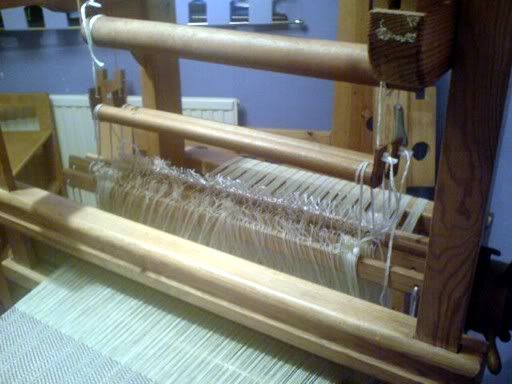
Then I move to the front of the loom remove the beater holding the reed, and thread the heddles from the front.

Photo Sharing and Video Hosting at Photobucket

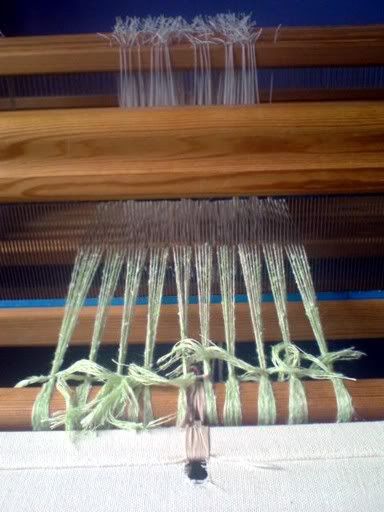
I do this for all the threads and then replace the beater and sley the reed. (You're about to see a magical change of warp here). I then tie the warp to the front apron rod:

Photo Sharing and Video Hosting at Photobucket

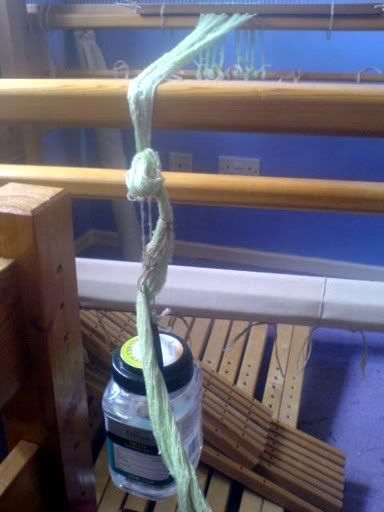
Sometimes I spread the warp into a raddle on the back beam at this stage but it's not really necessary unless the warp is really difficult, because the heddles will space the warp nicely anyway. To keep the warp under tension while I'm beaming on to the front beam, I use a water bottle technique. I keep four half-kilo plastic rice jars with handles on the lids for this purpose (I tie a loop of yarn to the handles). I tie a loose overhand knot in the warp, halfway to the floor, and slip the yarn attched to the handle of the water-filled rice jar over that knot. It feels as though the knot would slip at first but it never does. The following pictures illustrate this concept:

Photo Sharing and Video Hosting at Photobucket Photo Sharing and Video Hosting at Photobucket

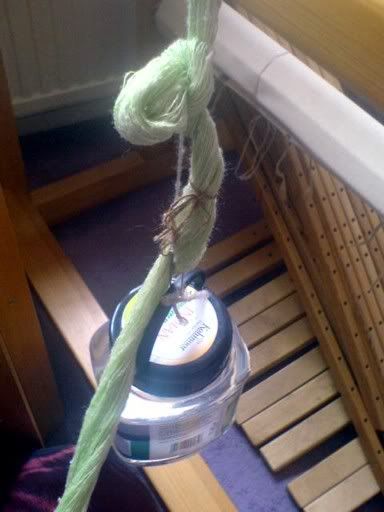
As the water bottles get up near the back beam, I remove them, untie the knot and retire it a little further along the warp. I run my fingers gently through the warp each time I move the knot, to make sure that the warp threads are all more or less in the place they should be. Also as I'm winding on to the front beam, I stand at the side of the loom and watch the heddles. If there are any crossed warps trying to go through a heddle, the heddles will draw forward. You can stop and fix any tangles before they're a problem. I stop and check every revolution or so of the front beam anyway, to make sure that tangles aren't occurring. I also put the occasional warp stick between the layers of warp to make sure it can't get caught up.

One the warp is entirely on the front beam, I bring the back apron rod up and tie the warp to that and check the tension until it's even. Then I wind the warp back onto the back beam, adding warp sticks at intervals. This step is very fast and there shouldn't be any need to watch for snags at this stage as you've already found them. When the warp is all on the back beam, recheck the tension on the front apron rod and you're ready to weave, safe in the knowledge that you have no crossed threads to worry about.

The brown and yellow silk scarf

This scarf was woven with a golden yellow 60/2 silk warp, set at 30 epi. The weft was the hand-dyed, handspun silk cap in browns and yellows which was part of the series of silk caps I've been playing with lately. This was pleasantly easy to weave, despite some early issues with breakages along the selvedges - you can see a couple of loose warp threads at the sides where I've had to reattach broken warp threads. I've learned a lot about how such fine silk deals with sett and friction at the outside of the reed with this project.

Photo Sharing and Video Hosting at Photobucket


The draft was basically an overshot I designed myself using the draft software at handweaving.net. I put a thin border of plain weave six thread wide on each of the selvedges, which did result in a tension difference as I wove further down the warp. This was fixed by hanging scissors from the looser selvedge thread groups.

A close-up of the weave structure:

Photo Sharing and Video Hosting at Photobucket

This has turned into quite a short scarf because the silk packed more tightly into the 60/2 silk than it does into thicker warps. But the end result is so luxurious it's going to be repeated.

Tea cloths

This is what my mediaeval torture chamber weaving studio used to look like...and what it looks today. What a difference!

Photo Sharing and Video Hosting at Photobucket Photo Sharing and Video Hosting at Photobucket

I've put the closer bookcase beside the door, so it makes a kind of corridor into the room. This allows me to access that bookcase from both sides (and gives me space for all of my books), and gives the loom a kind of nest in which to live. This was C's suggestion, and it works really well. I've left a couple of spaces free except for an ornament, which allows one to see through to me weaving if walking into the room.

I really need to document more of my planning process becasue I spend so much time thinking about weaving theory, and yet this seems to be a blog of finished items.


Going back through some old photos, I decided to document the teatowels I made before buying my new loom. It was my first attempt at a real yardage, working with 10/2 cotton, as normally I'd play with finer, more exotic fibres.

Photo Sharing and Video Hosting at Photobucket

The warp was 5 metres of 10/2 cotton in natural, set to 24 epi. I ran it the with of that loom...about 12-14 inches, from memory. The warp was a chocolate 10/2 cotton, and the draft was a modification I'd made from the background of a classic old American draft which came from an old weaving book which had belonged to a friend's grandmother and gifted to me.

The old loom looked so tiny beside the new loom. I was amazed by hwo quickly you can weave 5 metres of cloth when you're working with 10/2 cottons.

Photo Sharing and Video Hosting at Photobucket

When pulled off the loom, the warp ran the entire length of my hall at the time. I also learned that a previously unsuspected hazard of laying recently woven fabric on the floor is that approximately 15 seconds after it is put there and while you're rummaging around to find your camera, the neighbour's cat will appear out of nowhere, walk from one end to the other of it, and flop on top of it as though it owns the house and it's been there all it's life:

Photo Sharing and Video Hosting at Photobucket

I got four teatowels from the fabric, after finishing, removing ginger hairs and washing. I simply cut the fabric and hemmed the ends. The result is luxuriously thick teatowels which are much superior to those bought in stores. These ones now live in my kitchen but I'm thinking of making some to sell.

Photo Sharing and Video Hosting at Photobucket

I may never buy a teatowel again.