Thursday 8 December 2005

The chunky green sweater

Done!

Image hosted by Photobucket.com

And now with the recipient as a Christmas gift.

Monday 5 December 2005

Spinning dyed tussah silk top

I've had a go at spinning silk top before with mixed success (it seemed to want to spin relatively thickly and it was all too easy to over-spin), but over the weekend I played with some purchased henna-dyed tussah silk. This was more than happy to spin extremely fine, which made me very happy. Once I've plied this tonight I'll have some lovely lace-weight silk yarn. I've been able to work with this very quickly too, which would probably appal my former spinning teacher, as she was forever trying to convince me to spin more slowly and less finely.

Image hosted by Photobucket.com

This shot shows the loose fibre on the post of my wheel, with spun singles on the bobbin.

What do I plan to do with this? One of my spinning friends gave me a beautiful alpaca scarf she had knitted from this pattern. I think it's the perfect introduction to lace knitting, and I'll make myself a much-needed red scarf to boot.

The chunky sweater


Image hosted by Photobucket.com

It's become a green sweater for the woman I've been staying with. I experimented with some green single-spun rayon yarn I'd bought for next-to-nothing and realised that the colours would suit her better than they would me. It turned out that the colours looked best with all three knitted together, and this has slowly been turning into a very heavy, chunky sweater:

Image hosted by Photobucket.com

Laid out on the floor, with the arms left and right (this is knitted in rib from one wrist to the other), and then the front and back attached to that, to the top and bottom of the photo.

Close-ups of the rib and stocking stitch fabric:

Image hosted by Photobucket.com

And the sweater as it will appear when made-up (the purl hem is yet to be knitted, but this will be done within the next day or two):

Image hosted by Photobucket.com

The recipient wants this to be made shorter than it appears in the initial photo. I'm uncertain about how well this will work, as the pattern is so top-heavy with the rib. I'll find out very soon, I guess.

Friday 28 October 2005

Project: white merino jumper

I bought some merino that was a bit coarser than I expected a while ago - it was superfine (18.5 microns) instead of ultrafine (17 microns). That's not a lot of difference, but it had a different feel to the ultrafine merino and spun silk cap laceweight fibre (topic for another post) I had been making. So I spun that stuff up quite thickly - roughly the weight of an 8-10-ply (Australian weight) wool.


Image hosted by Photobucket.com

This looked so nice, and I know it's going to be hard to buy merino in the UK as Uk wool is coarser than what you can get in Australia, so last night I bought myself another kilo of 18.5 micron wool.

Image hosted by Photobucket.com

Yes, it's on a real dining chair. This is now stashed in one of my bags to fly out with me and give me something to do for the first little while in Cambridge. What do I plan to do with it? Take it with me on the ship to Antarctica, so I can knit this:

Image hosted by Photobucket.com

It will make for a beautifully soft casual jumper. You'll see more of this as it progresses.

Gorilla!

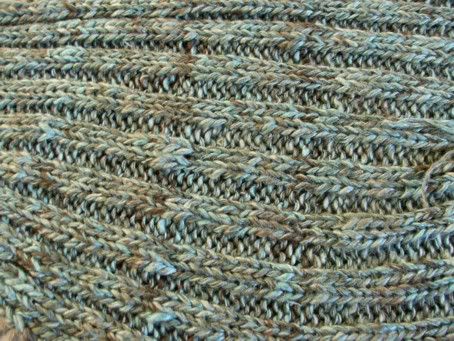
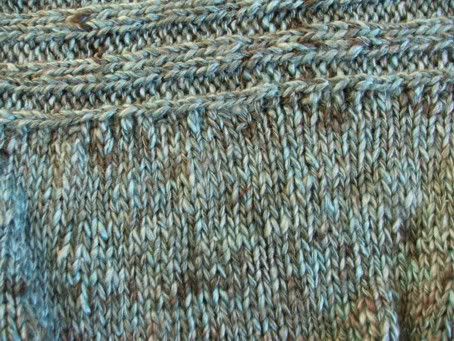
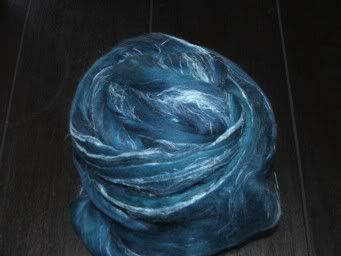
Last night was my last night of spinning class, and I made gorilla.

Yes, you read that right. That's what it's called.

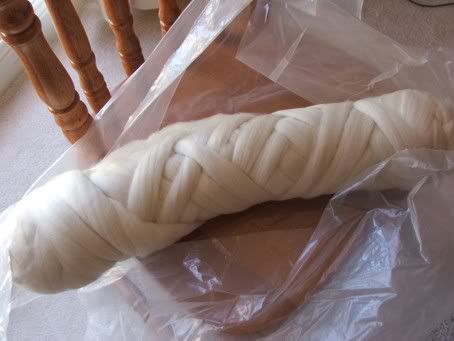
Gorilla is a blend of five different types of fibres:
- silk noil (which is basically the sweepings from the silk room floor, complete with twigs and all sorts of stuff - that's right, I was spinning dust-bunnies!),
- natural green cotton, unginned
- some form of coloured merino top, and it's best for this to be an in-your face colour,
- glitz (we used a blue-and-silver glitz)
- and tencel, which gives some spots of lovely sheen.

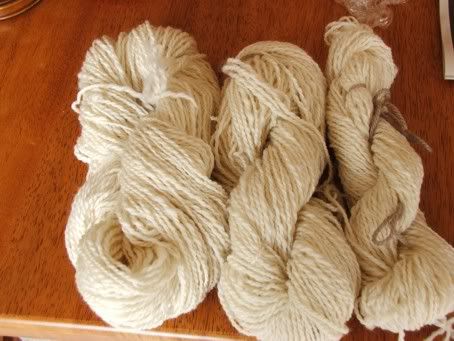
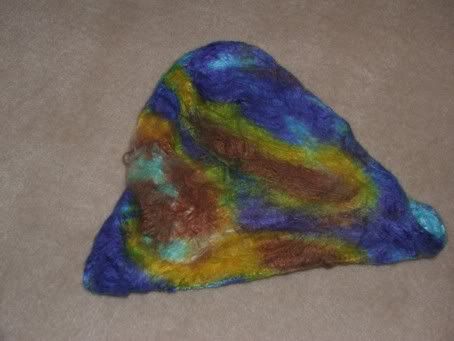
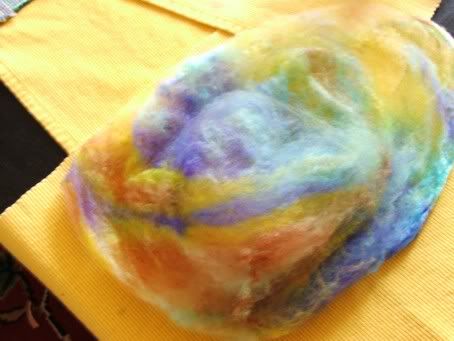
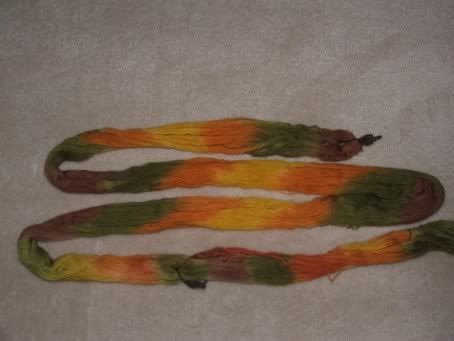
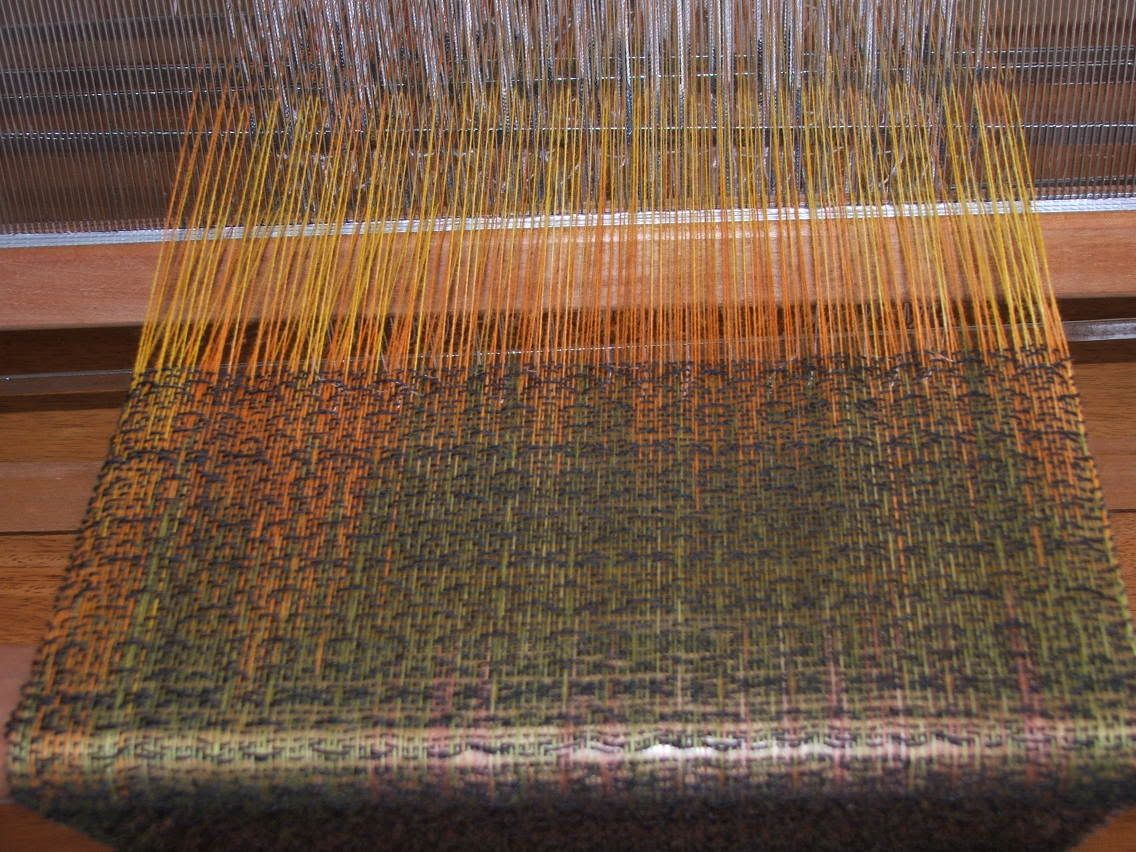
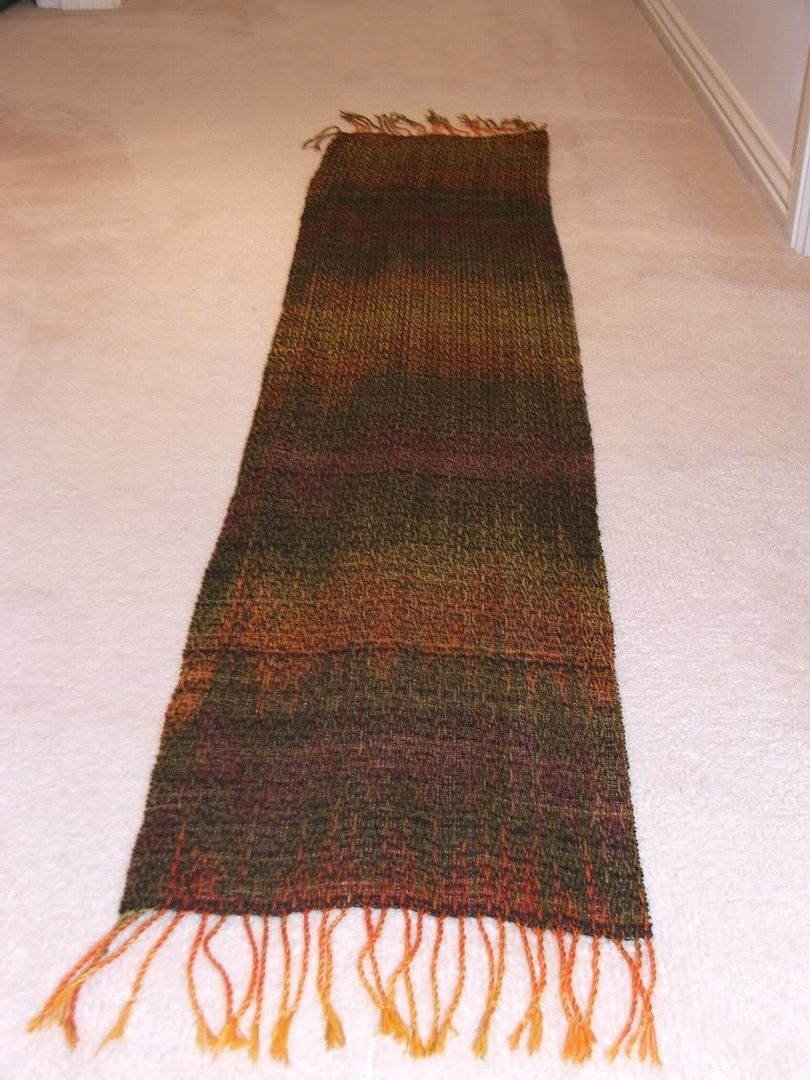
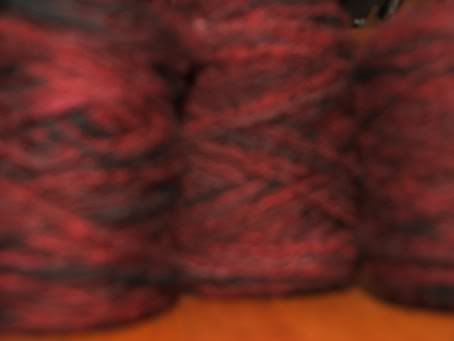
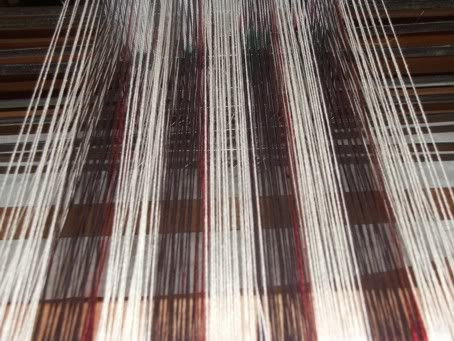
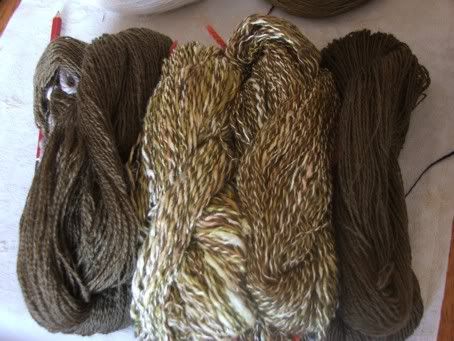
You place all of this on hand-carders and run it through the carders a few times, making sure it's not too well blended, then spin it with a long draw. The idea is to have discrete lumps of stuff. I made two batches, the first with a brown merino (this gave a quite neutral result); the second with both red and brown merino and a lot more tencel. This was the more sucessful. Here, the first is on the left, the second on the right:

Image hosted by Photobucket.com

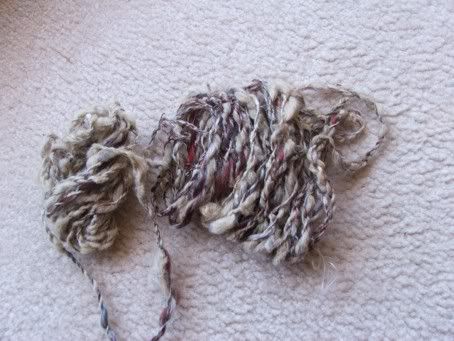
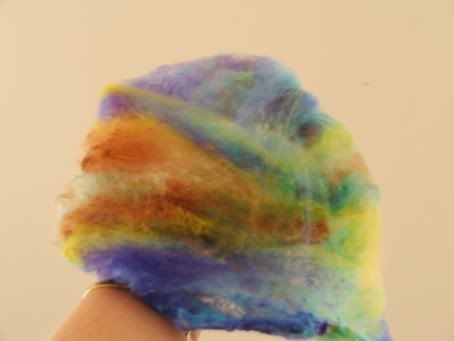
It looks like nothing on its own - in fact it still looks like spun-up dust-bunnies, but I'm told that it makes a lovely cool summer top that goes well with brown linen pants. I can see that, and the silk noil would make for a very comfortable wear as it's a very absorbent fibre that never feels cold or hot. And it's beautifully soft. I think this is an experiment that's worth doing again sometime.

Hand-painted dying silk caps

As another part of the hand-dying class, I bought a silk cap and simply sploshed it with some left-over dyes that had been mixed for other projects: in this case, brown, blue and yellow.

In case you have no idea what a silk cap is, this is several silk cocoons, which have been stretched out to form a hat-like shape. Typically there are 5 or more silk cocoons, all stretched one over the other:

Image hosted by Photobucket.com


During the microwave part of the dying process, some of the colours mixed and blended, giving some paler blues, greens and a more rusty brown.

Image hosted by Photobucket.com

To spin silk caps, you split them apart by gently removing the top one from the others:

Image hosted by Photobucket.com

Then you place both hands inside the silk cap and pull them apart, stretching the cap out until it breaks and becomes a long, stretched piece of silk. This is call pre-drafting. At this stage you can just roll them into a call and set them aside.

Image hosted by Photobucket.com

Image hosted by Photobucket.com

Image hosted by Photobucket.com

The best way to spin these is quite finely, holding the silk in your right hand to it forms a right-angle around the left hand, which is feeding the silk into the wheel. This helps with pulling the silk apart, as it is very strong. I usually do these in the natural white, but the result of the dyed one gave some unexpected jewel-like tones:

Image hosted by Photobucket.com

I'm still not sure what to do with this. I tried plying it with different colours of wool, but the wool simply overtook the delicateness of the silk. I'll probably end up using this with some sea-green rayon as the weft of a very delicate scarf, but for the meantime it goes into storage until I can weave again.

Hand-dying: the multi-coloured scarf

As part of a hand-painted dying class, I bought a skein of NZ artisan lace-weight merino wool, and made a warp for a scarf. Then I hand-painted it a number of jewel colours.


I painted the blocks of colour yellow-orange-green-brown-green-orange-yellow, and so on, down the length of the 2.5 metre warp. I had wanted to make this a "fire" scarf, in yellows, oranges and reds, but there wasn't a red available that I was happy with. The blocks were painted on the digaonal rather than straight across; something that others considered to be a bold experiment as I had paid $22 for the wool! However the picture was clear in my head, so I ended up with this...

Image hosted by Photobucket.com

Still having half of the lace-weight skein left, once I had it home I dyed it black to use as the weft, and chose a warp-faced pattern to show off the colours. With all the handling the warp got with dying and washing, when I went to put it on the loom I ended up opening the diagonals part of the way through, which gace the colour change a chevron pattern. It looked good on the loom:

Image hosted by Photobucket.com

...and even better, once off and fringed:

Image hosted by Photobucket.com

Overall, I'm really happy with the result. Spending the money on the nice lace-weight wool really paid off, as I now have a unique scarf for less than $25. And it is unbelievably light, warm and soft. I'm definitely happy enough to want to repeat the experiment another time, using the fire colours of red, orange and yellow. Perhaps before next winter.

Friday 21 October 2005

Lace-weight alpaca and more beanies (June 14, 2005)


First, the spinning:

This is my cosy little spinning corner, in front of the TV:

Image hosted by Photobucket.com

The mess on the chair is knitting. I'm trying (without a pattern) to replicate this cardigan using a thick, soft cotton on 15mm needles:

Image hosted by Photobucket.com

It's almost done; I should be able to block it, sew it and hopefully dye it black this weekend. My latest spinning project has been to spin some roan alpaca. That resulted in my spinning corner gathering enough dirt and grass seeds to resemble a field! But it's done now, and I have in excess of 500 m of lace-weight alpaca. I don't know what this is going to be yet. I might let it sit until I've spun some caramel alpaca I have, and see whether they'd make a nice contrasting pair.

Image hosted by Photobucket.com

I've also been having a lot of fun with dyeing. I recently dyed a couple of hundred metres of homespun in three colours - red, a splash of fuchsia and black. This was to match some Lion Brand wool. The result was a bit darker than I had aimed for, but still quite attractive, especially knitted up:

Image hosted by Photobucket.comImage hosted by Photobucket.com

I've also been knitting a couple of beanies. These are his and hers beanies, as gifts. The his is the same navy merino-flax blend I used for H's beanie (without the silk strand, as there wasn't enough left), hers is from the recently dyed red homespun sliver.

Image hosted by Photobucket.comImage hosted by Photobucket.com

I've also been playing with dyeing cotton for weaving. I tried dyeing some rose wine cotton black, and ended up with a deep purple. That's quite attractive done up as a plaid, but I'm about to change the threading on this project to play with a double-weave.This is the first time I've woven with all 8/2 cotton, and it makes me keen to play with finer stuff. Front and back:

Image hosted by Photobucket.comImage hosted by Photobucket.com

My most recent project to come off the loom is a navy and white scarf sampler, which I made to experiment with open weave. It's also to match a long, navy and white floral skirt which I've long wanted a scarf to go with. It's roughly 14 inches wide and 2 metres long, and has a fine rayon flake thread warp (the blue), with a white 8/2 cotton weft. No homespun was harmed in the making of this project.

The scarf on the floor in a photo which unfortunately doesn't bring out the subtle patterning:

Image hosted by Photobucket.com


And taken this morning, on me. This isn't the best shot and I didn't bother washing my hair this morning so had to pull the knots out of my hair resulting in it being quite straight and frizzy, but this is what I look like today:

Image hosted by Photobucket.com

So, the current projects are:

Spinning: I'm working with silk caps again. I'm spinning them very finely and will ply them with 17-micron white merino wool. I don't know what I'm going to make with it, but I'm sure something will come to me.

Knitting: hoping to finish the cardigan this week and that ought to be the last for a while EDIT: This cardigan was decreed a failure.).

Dyeing: Will dye the cardigan black, and will be playing with hand-painting a warp later next month.

Weaving: playing with double-weave in the cotton at the moment. After that I'll be making the soft cotton baby's blankets for my cousin's twins.

The silk/merino baby's beanie (June 6, 2005)

I finished the baby's beanie on the weekend, made from the silk/merino blend.


Image hosted by Photobucket.com

It's SO small, it's going to fit in the envelope with the card - it's about the size of my very small hands! That's the envelope it's on.

Fortunately, it has a lot of stretch. While I was making it, H told me it was waaay to big for a baby.


This post is guaranteed invisible to the person getting the item.

The beanie project (May 6, 2005)


As a memory refresher, the fibre and the wool blend (this was only 70% merino in the end, with 20% flax (the white and black in the first photo), and 10% silk (the white plied in in the second photo):

Image hosted by Photobucket.com Image hosted by Photobucket.com

H fell in love with the wool and asked for a beanie, so I taught myself how to knit so I could make it for him. It took maybe 15-20 hours to make, and doesn't suck anywhere near as much as I expected it would. I'm quite pleased with the results.

H, wearing the beanie. You can't really see the detail in this, it's clear that the shot was taken from too low down...

Image hosted by Photobucket.com

So then we put it on me and took an urky photo so you could see the pom pom. The pom pom is only a temporary feature, H is going to a rugby game tonight and he realised that the light blue would make the beanie match his team's colours. So he's taking the beanie with him to the game. :-)

Image hosted by Photobucket.com

This shot is much cuter, although unplanned. I can't believe how long my hair looks in this shot!

Image hosted by Photobucket.com

Finally, the unplanned arty shot - H moved the camera while it was taking a slow exposure. The result was actually pretty good!

Image hosted by Photobucket.com


There's actually 100m or so of the wool left, so there is enough to make another project from it. I haven't decided what that will be yet. I may make H a matching scarf, although he's not really a scarf kind of person.

The weaving studio (May 26, 2005)

While I was taking the other shots this morning, I took one of the weaving studio. I have a few cones of stuff out while I decide which is best for a project.


Image hosted by Photobucket.com

So much for having a dining room!

Spun silk caps and the result (May 26, 2005)

I need to make myself an icon for the textile stuff.
Thanks to 's research, that problem is now solved!


What the silk caps looked like spun as singles and dyed. You've seen this before.

Image hosted by Photobucket.com

Then I bought some olive-green merino, spun it finely and plied it with the silk.

Image hosted by Photobucket.com

I found I had quite a bit left over so I then spun the rest of the wool and plied it together. I ended up with 4 skeins - two just wool, a thicker, looser silk/wool skein (on the left) and a finer silk/wool skein (on the right). They're all somewhere between a 2-ply and a 4-ply in weight. I haven't actually measured how long these are, but there's somthing like 90 m in each skein.

Image hosted by Photobucket.com

Although I think this looks nice, it didn't turn out quite the way I'd pictured so I'd shelved my plans for the scarf I was going to make from it, and it's been sitting on the table beside the loom, while I waited for it to tell me what it wanted to be. Yesterday the idea was put in my head that because this is lovely and soft, it would make a good beanie for a baby (using the pattern I used for H, which is nice and stretchy and would fit a baby for a while), or a baby's blanket.

Yes, you read that. Me, Geo, just said she's planning to make baby's things. I never thought I'd say that. But a friend's wife gave birth to a baby last week, and I want to make some things for my cousin before she gives birth in December, so this appears to be the time!

, this is a better shot than the moblog one. What do you think?

The twill scarf, olive silk/merino and navy merino/flax/silk (April 12, 2005)

Still felt a bit off yesterday, so went home and tried to get to bed early. That didn't stop me from getting a lot of work done during the day though - all in all, it was quite a productive day.


Project 1: the twill scarf

The old, small loom that I am renting, with the fancy twill scarf on it.

Image hosted by Photobucket.com

The draft I used to make the scarf

Image hosted by Photobucket.com

Detail of the scarf, from front and from the side. The scarf is made with a commercial, 8-ply pure wool warp, and a handspun, approximately 5-ply wool sliver weft. You don't really want to use handspun for the warp, partly because it takes and wastes so much, and partly because it may not be strong enough. I'm realy pleased with the way the pattern's coming out, though - from a distance it looks like a normal twill. It's only when you look more closely that the intricacy of the pattern comes out.

Image hosted by Photobucket.com Image hosted by Photobucket.com

Project 2: Beanie and scarf for H.

A reminder of what the blue merino/flax blend looked like unspun:

Image hosted by Photobucket.com

Four skeins of the spun wool, resulting from 200g of fibre. The four are all slightly different: the one on the left (roughly 60m) is plied with itself. There was a touch of white silk I'd used on the end of the wool to attach it to the bobbin and that looked really good, so I plied the two middle skeins with two strands of the blue merino/flax, incorporating a thin strand of white spun silk cap with one of the singles. That's given the white flecks. Gives a nice effect. The two middle skeins are roughly 45 m each. The fourth skein on the right is just the ends of the three bobbins, about 8 m. All of the wool came out at about a 10-ply except for the small skein, which is more like 12-ply. I've made a sample swatch of knitting to teach myself to knit but I'm not really happy with the results, so I'm going to get the girls to double-check what I'm doing on Thursday night before I start the beanie proper.

Image hosted by Photobucket.com

Project 3: Silk and merino scarf for myself

I have bought some olive merino top to match the silk caps I spun and dyed, and plan to spin that up and ply it with the silk. Haven't started that yet. I'm playing with the caramel suri alpaca at the moment, but that's not really a lot of fun (it's breaking a lot and won't twist on well), so it may take a back burner so I can make this and move on with weaving. I'm probably going to weave it up with a khaki rayon yarn I've bought (on the right), unless I find a more suitable colour.

Image hosted by Photobucket.com Image hosted by Photobucket.com

I also have a roan alpaca fibre, about 200g worth, which is much nicer to spin than the suri. I may also play with that.