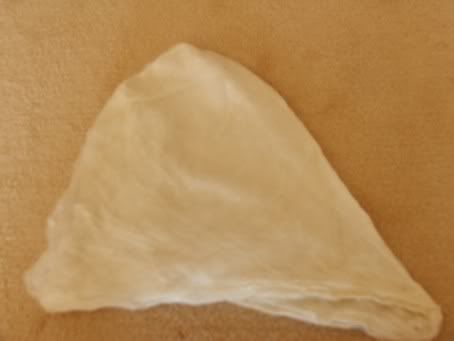
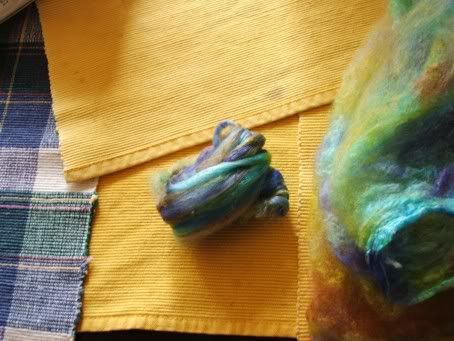
In case you have no idea what a silk cap is, this is several silk cocoons, which have been stretched out to form a hat-like shape. Typically there are 5 or more silk cocoons, all stretched one over the other:
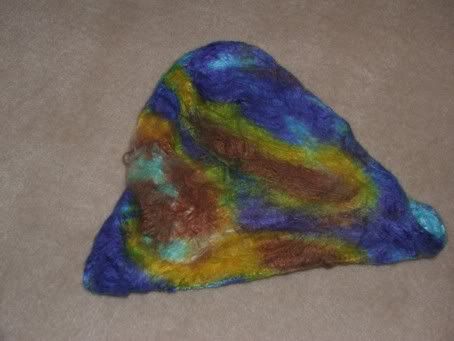
During the microwave part of the dying process, some of the colours mixed and blended, giving some paler blues, greens and a more rusty brown.
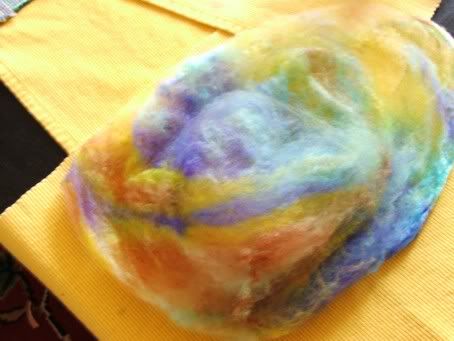
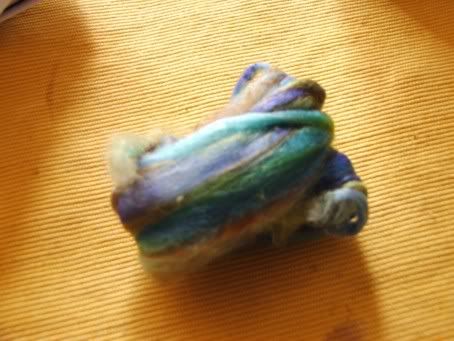
To spin silk caps, you split them apart by gently removing the top one from the others:
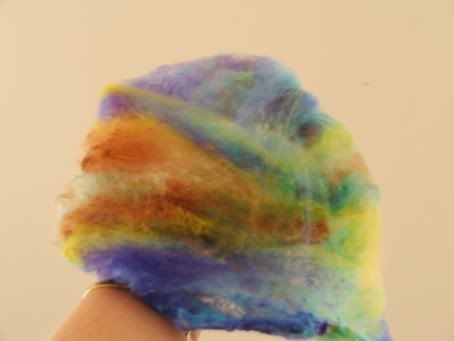
Then you place both hands inside the silk cap and pull them apart, stretching the cap out until it breaks and becomes a long, stretched piece of silk. This is call pre-drafting. At this stage you can just roll them into a call and set them aside.
The best way to spin these is quite finely, holding the silk in your right hand to it forms a right-angle around the left hand, which is feeding the silk into the wheel. This helps with pulling the silk apart, as it is very strong. I usually do these in the natural white, but the result of the dyed one gave some unexpected jewel-like tones:
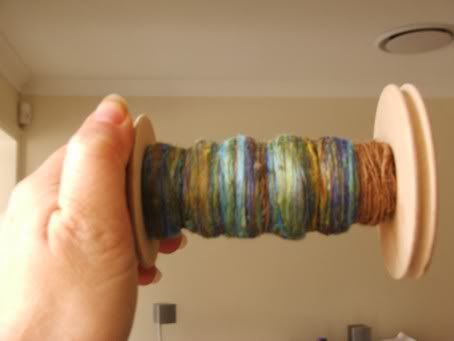
I'm still not sure what to do with this. I tried plying it with different colours of wool, but the wool simply overtook the delicateness of the silk. I'll probably end up using this with some sea-green rayon as the weft of a very delicate scarf, but for the meantime it goes into storage until I can weave again.
No comments:
Post a Comment