Thursday 13 December 2007

Making linen cloth

I gave up cross-stitch years and years ago when I realised that although I stiched obsessively, I only ever put one project I'd completed on display. That I was more interested in the process than in owning something that was pretty but not practical. When I moved to the UK from Australia, my ex-husband asked me if he could keep that one project on display: a rather lovely large cross-stitch I had done, because he was attached to it. I agreed, deciding that I could make another for myself. But I had a problem finding a suitable linen fabric for it, until I realised that since the last time (years ago) that I did a cross-stitch, I had developed the technology to make my own. To make linen suitable for this project all I needed was a plain-weave fabric, set at 20 epi. I have absolutely ~~no~~ idea why it took me so long to make the connection.

Consequently, a week or so ago, I spent an entire evening in front of the television, warping 4 km of linen around a warping board. My thoughts were of two things as my side and arms ached from swaying from side to side over the warping board: the first was vaguely wondering why at times I think that this is an interesting, rewarding hobby. The second was that I really, really want a warping mill because it's easier and because I only have the capacity to wind 5 metre warps at the moment and that's not enough. I've had enough of playing with different types of yarn now and want to start working on multiple possiblities and projects from a single warp. Hence winding a 5 metre warp of linen when I only want to make 1.5 metres of fabric for the cross-stitch project.

The linen is a lovely natural, slightly rough 6/1 linen, so it should give a nice natural, antique feel. Yes, I know I swore I'd never warp with a single yarn again the last time I did it, but I thought I'd perservere and try again. All of the linen I have is singles, and I thought it would be a chance to work on my technique of warping with singles.

Anyway, in case you were wondering what 4 kilometres of linen looks like...it looks like this:

Photo Sharing and Video Hosting at Photobucket

That's four groups of 120 ends and two groups of 110 ends, to give 700 ends in total. This means I'm finally going to use my loom to its full width. I tend not to chain my warps, particularly a springy single, because I find winding them around something handy like a shuttle keeps them under more tension and less likely to tangle.

I use a warping technique I've devised myself for difficult warps such as sticky yarns or singles, which could probably be summarised as a back-to-front-to-back warping technique. I find it reduces my errors and makes any easier to find while they're still easily corrected before weaving starts.

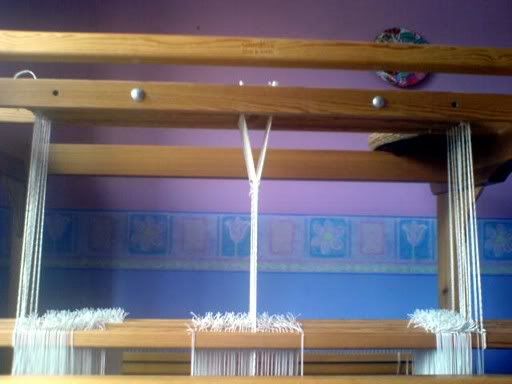
First, I tie the object the warp is held to to above the back beam, and insert the cross into lease sticks suspended from the castle.
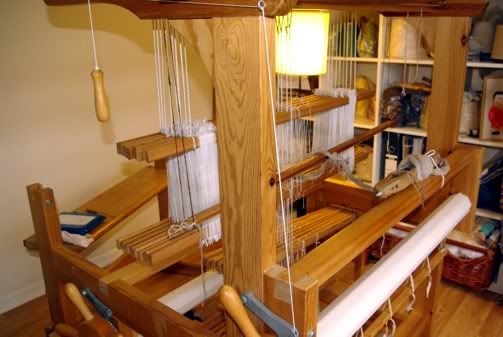
Photo Sharing and Video Hosting at Photobucket

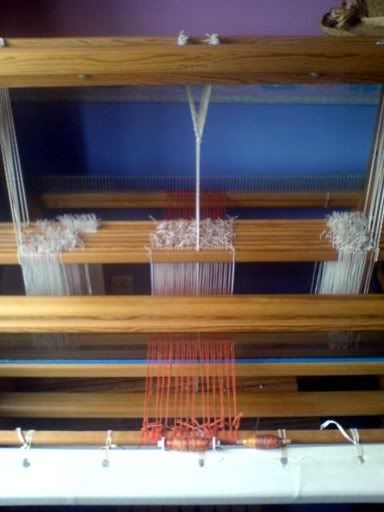
Then I move to the front of the loom remove the beater holding the reed, and thread the heddles from the front.
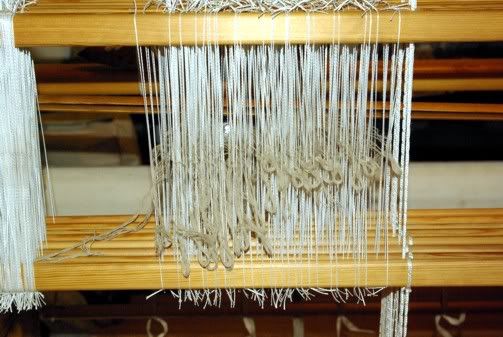
Photo Sharing and Video Hosting at Photobucket

I do this for all the threads and then replace the beater and sley the reed. (You're about to see a magical change of warp here). I then tie the warp to the front apron rod:
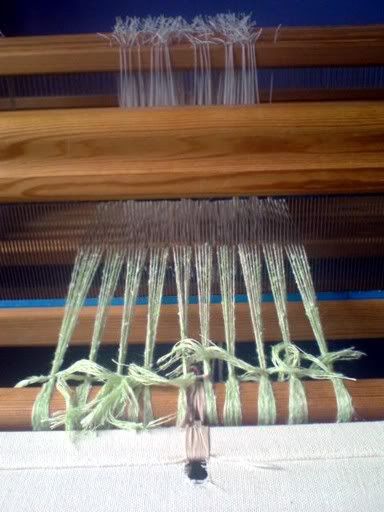
Photo Sharing and Video Hosting at Photobucket

Sometimes I spread the warp into a raddle on the back beam at this stage but it's not really necessary unless the warp is really difficult, because the heddles will space the warp nicely anyway. To keep the warp under tension while I'm beaming on to the front beam, I use a water bottle technique. I keep four half-kilo plastic rice jars with handles on the lids for this purpose (I tie a loop of yarn to the handles). I tie a loose overhand knot in the warp, halfway to the floor, and slip the yarn attched to the handle of the water-filled rice jar over that knot. It feels as though the knot would slip at first but it never does. The following pictures illustrate this concept:
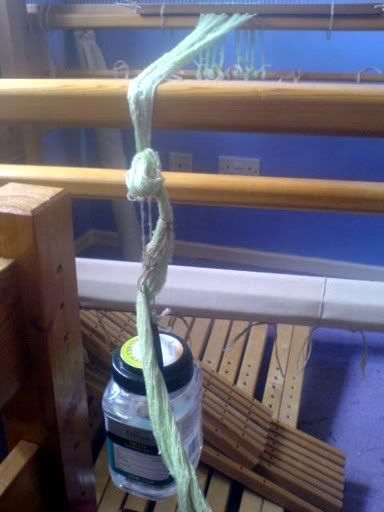
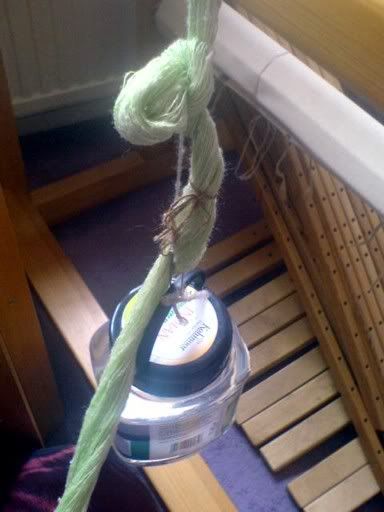
Photo Sharing and Video Hosting at Photobucket Photo Sharing and Video Hosting at Photobucket

As the water bottles get up near the back beam, I remove them, untie the knot and retire it a little further along the warp. I run my fingers gently through the warp each time I move the knot, to make sure that the warp threads are all more or less in the place they should be. Also as I'm winding on to the front beam, I stand at the side of the loom and watch the heddles. If there are any crossed warps trying to go through a heddle, the heddles will draw forward. You can stop and fix any tangles before they're a problem. I stop and check every revolution or so of the front beam anyway, to make sure that tangles aren't occurring. I also put the occasional warp stick between the layers of warp to make sure it can't get caught up.

One the warp is entirely on the front beam, I bring the back apron rod up and tie the warp to that and check the tension until it's even. Then I wind the warp back onto the back beam, adding warp sticks at intervals. This step is very fast and there shouldn't be any need to watch for snags at this stage as you've already found them. When the warp is all on the back beam, recheck the tension on the front apron rod and you're ready to weave, safe in the knowledge that you have no crossed threads to worry about.
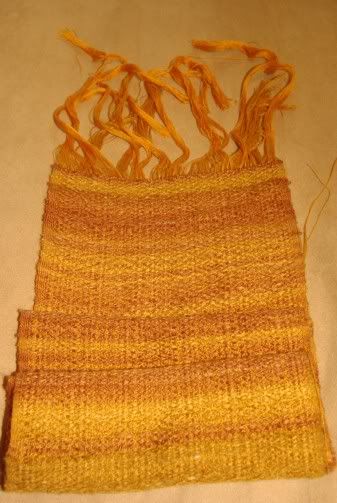
The brown and yellow silk scarf

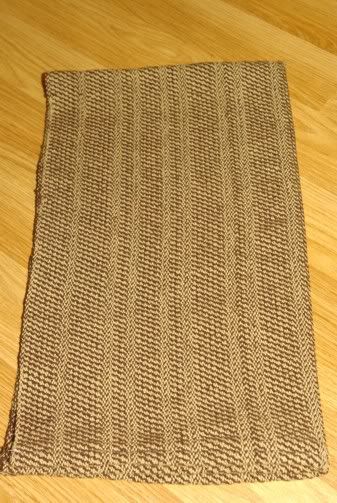
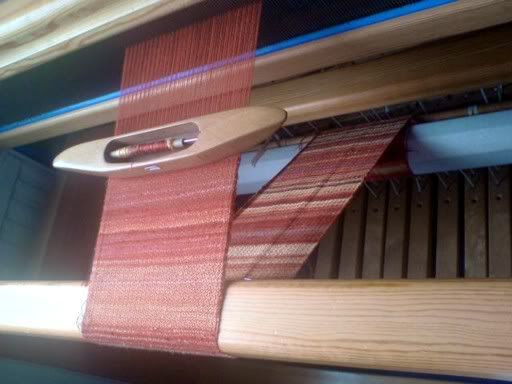
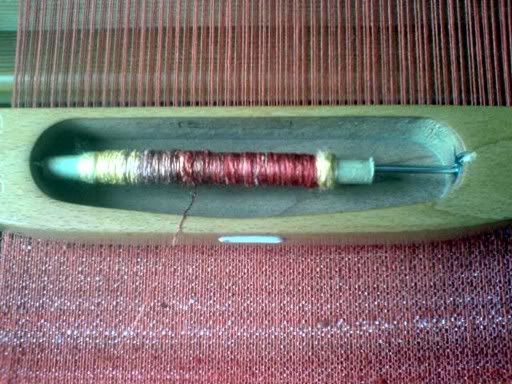
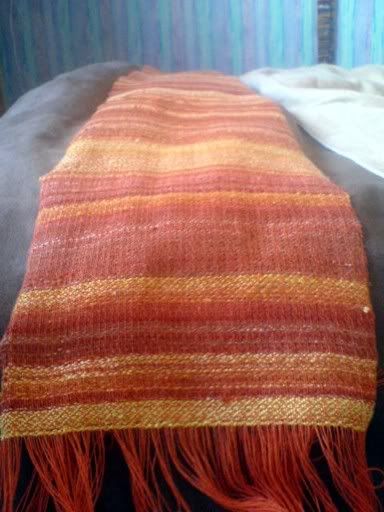
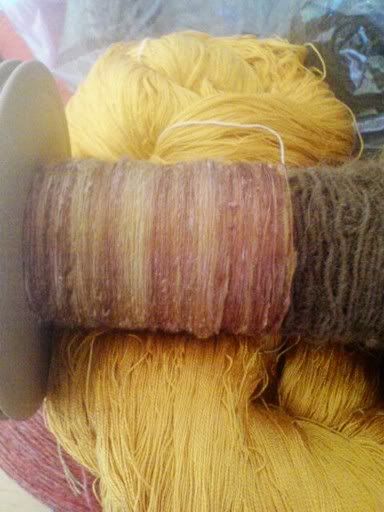
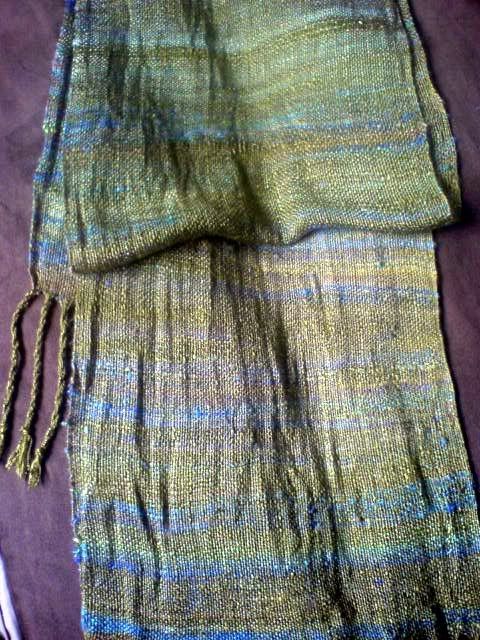
This scarf was woven with a golden yellow 60/2 silk warp, set at 30 epi. The weft was the hand-dyed, handspun silk cap in browns and yellows which was part of the series of silk caps I've been playing with lately. This was pleasantly easy to weave, despite some early issues with breakages along the selvedges - you can see a couple of loose warp threads at the sides where I've had to reattach broken warp threads. I've learned a lot about how such fine silk deals with sett and friction at the outside of the reed with this project.

Photo Sharing and Video Hosting at Photobucket


The draft was basically an overshot I designed myself using the draft software at handweaving.net. I put a thin border of plain weave six thread wide on each of the selvedges, which did result in a tension difference as I wove further down the warp. This was fixed by hanging scissors from the looser selvedge thread groups.

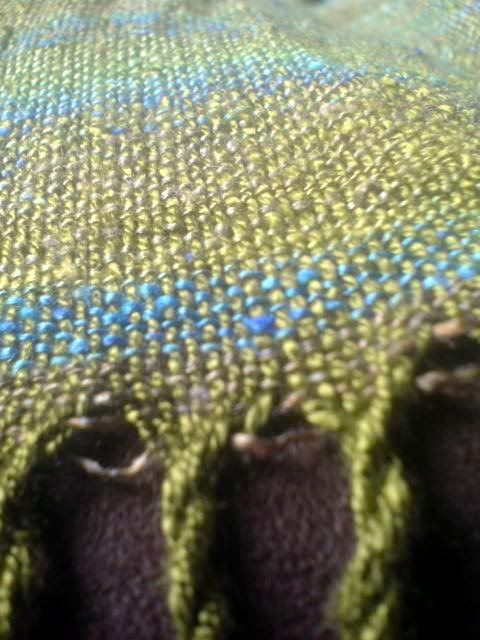
A close-up of the weave structure:

Photo Sharing and Video Hosting at Photobucket

This has turned into quite a short scarf because the silk packed more tightly into the 60/2 silk than it does into thicker warps. But the end result is so luxurious it's going to be repeated.

Tea cloths

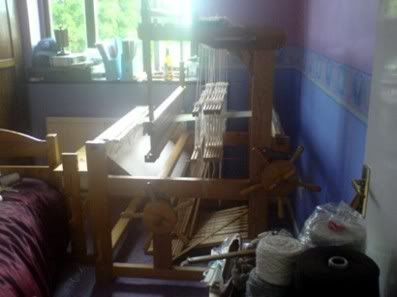
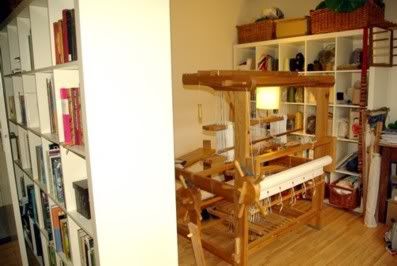
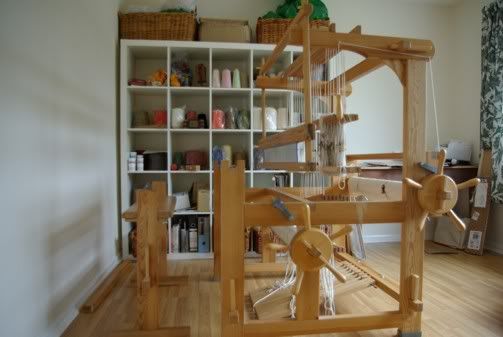
This is what my mediaeval torture chamber weaving studio used to look like...and what it looks today. What a difference!

Photo Sharing and Video Hosting at Photobucket Photo Sharing and Video Hosting at Photobucket

I've put the closer bookcase beside the door, so it makes a kind of corridor into the room. This allows me to access that bookcase from both sides (and gives me space for all of my books), and gives the loom a kind of nest in which to live. This was C's suggestion, and it works really well. I've left a couple of spaces free except for an ornament, which allows one to see through to me weaving if walking into the room.

I really need to document more of my planning process becasue I spend so much time thinking about weaving theory, and yet this seems to be a blog of finished items.


Going back through some old photos, I decided to document the teatowels I made before buying my new loom. It was my first attempt at a real yardage, working with 10/2 cotton, as normally I'd play with finer, more exotic fibres.

Photo Sharing and Video Hosting at Photobucket

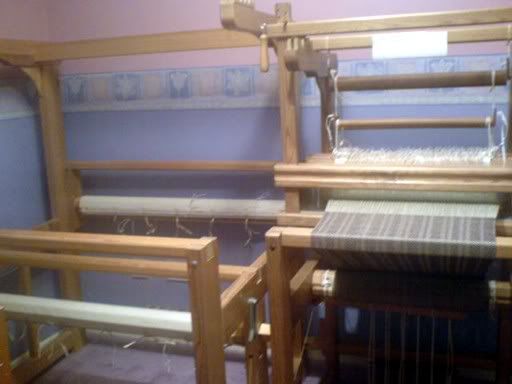
The warp was 5 metres of 10/2 cotton in natural, set to 24 epi. I ran it the with of that loom...about 12-14 inches, from memory. The warp was a chocolate 10/2 cotton, and the draft was a modification I'd made from the background of a classic old American draft which came from an old weaving book which had belonged to a friend's grandmother and gifted to me.

The old loom looked so tiny beside the new loom. I was amazed by hwo quickly you can weave 5 metres of cloth when you're working with 10/2 cottons.

Photo Sharing and Video Hosting at Photobucket

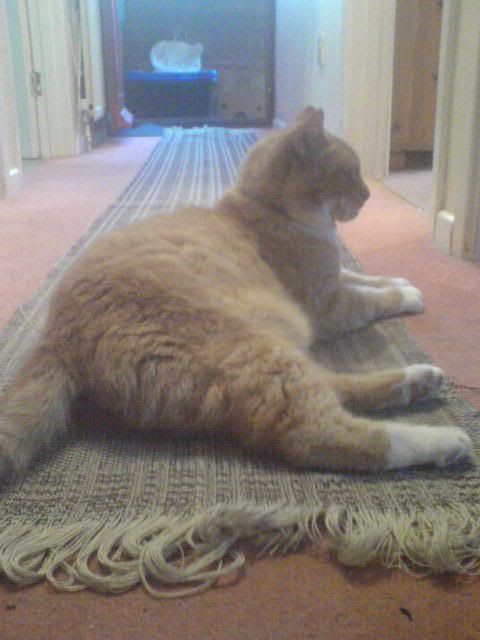
When pulled off the loom, the warp ran the entire length of my hall at the time. I also learned that a previously unsuspected hazard of laying recently woven fabric on the floor is that approximately 15 seconds after it is put there and while you're rummaging around to find your camera, the neighbour's cat will appear out of nowhere, walk from one end to the other of it, and flop on top of it as though it owns the house and it's been there all it's life:

Photo Sharing and Video Hosting at Photobucket

I got four teatowels from the fabric, after finishing, removing ginger hairs and washing. I simply cut the fabric and hemmed the ends. The result is luxuriously thick teatowels which are much superior to those bought in stores. These ones now live in my kitchen but I'm thinking of making some to sell.

Photo Sharing and Video Hosting at Photobucket

I may never buy a teatowel again.

Thursday 29 November 2007

The sunset scarf

You know you're serious about your weaving when you move house so you can have a dedicated weaving room. From the cramped corner of the spare room in my previous flat, I now have this:

Photo Sharing and Video Hosting at Photobucket

That's an image of my weaving studio as I was rebuilding my loom. What I can't believe is how I got that huge loom into the corner of the tiny spare room in the old house. It dominates this room! But at least I have my stash out on display so I can remember what's there and gain inspiration from it as I weave. The loom is now flanked by two of those sets of shelves. The second sits between the door and the loom, giving it its own little alcove and providing me with not only space for all of my books but also more storage space. Heaven.


I finished the cashmere and handspun silk scarf before moving.

Photo Sharing and Video Hosting at Photobucket

Despite being convinced that I never want to try warping with soft 1/10 yarn again, the scarf itself was lovely - and the weave really did look like little licks of flame.

Photo Sharing and Video Hosting at Photobucket

This is it, off the loom, but before fringing:

Photo Sharing and Video Hosting at Photobucket

As the draft was based on a twill and the cashmere was so soft, I was expecting this fabric to have a real drape when it came off the loom. I was surprised to find that it actually ended up being a quite crisp fabric, certainly as crisp as the plain-weave, all-silk 'Apple orchard' scarf that I made. Lovely all the same, but not what was expected, and I'm not entirely sure why yet. It may be that it's a result of the handwoven raw silk cap. I have another scarf on the loom at the moment which will mix the handspun browns I mentioned in the previous post with yellow 2/60 silk. That will come off the loom soon, and I'll know then whether that's the case. That scarf deserves a post all of its own - I've been learning how to handle 2/60 silk on this loom.


Now, in order to finish the flame scarf, I just have to figure out where it crawled off to hide in the process of unpacking in the new house....

Monday 13 August 2007

Balancing the loom and working on more scarves

I've succeeded in getting the loom balanced. Naturally, it was just a simple mistake. This loom is 8 shafts and 10 pedals, which means each shaft has 11 holes in it for tying to the lams - five on each side of the centre and one in the middle of the shaft, to attach to the jacks on the top of the castle. Because the first project I did was a simple plain weave on two pedals, I hadn't noticed this. In the process of tying up my current project, which uses all eight shafts and nine of the ledale, I realised that instead of tying to the jacks in the centre of the shafts, I'd tied to the fifth hole instead of the sixth and this left the shafts unbalanced.

I are geophysicist. I were teached counting good, honest!

Anyway,
Before, the jacks in the castle were insisting on sitting at a 30 degree angle, and (oddly enough) nothing I did could fix that. Because of course, the shafts were unbalanced.

Photo Sharing and Video Hosting at Photobucket

After, the jacks are now so even you can't even see them in the castle from this angle:

Photo Sharing and Video Hosting at Photobucket

And so, with that, I could finish tying up this project and finally make a start on weaving. There's nothing quite so tempting as a fresh warp on a loom, just inviting you to weave it.

Photo Sharing and Video Hosting at Photobucket

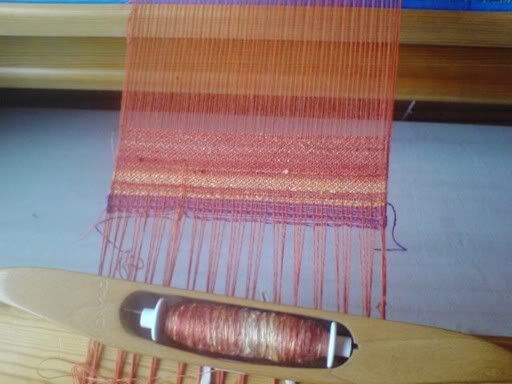
Only in this case, there was still quite a bit of twisting in the tail of the warp to be evened out before any decent weaving could be done. That's where the leader comes in. I always weave a piece of scrap cotton (or other yarn of a similar diameter to that of the weft) for an inch or so before I start weaving with the actual weft. This evens out the warp spacing and also allows you to find any warping errors that may have eluded you until now. Then I weave an inch or so with the weft I plan to use and when that's in place, I hemstitch the bottom few picks. That will keep the weaving in place once it's off the loom. When I'm done weaving and remove the fabric from the loom, I then simply unweave the leader from the fringe and the piece is ready to be finished. You can see the leader in purplish cotton at the base of the weaving here:

Photo Sharing and Video Hosting at Photobucket

After all of the pain of getting the cashmere onto the loom, it was really quite well behaved once I'd started weaving. I'm weaving this at a quite loose tension to reduce the pull on the delicate warp threads, and I'm advancing the fabric much more rapidly than I normally would: I'm pulling the fabric forward after I've woven every inch or so.I'v woven somewhere from 4-6 inches and so far I've been rewarded with no further brekages, which has pleased me greatly.

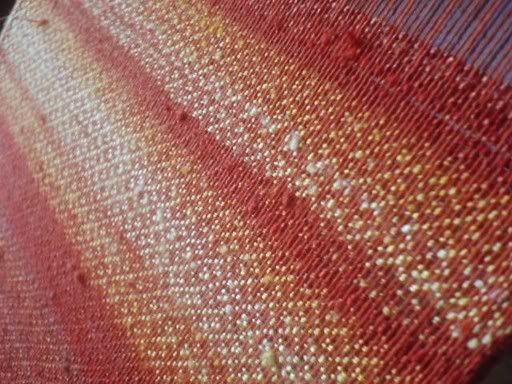
I've chosen this weave structure to compliment the colours. Because the silk is yellow, orange, red and brown going through the brick-red cashmere, I wanted a weave structure that would reflect flames licking softly:

Photo Sharing and Video Hosting at Photobucket

I think I've achieved that. And as this weave is based on an advancing twill, it ought to have a lovely drape as well.

And I've come up with a colour match for the next scarf as well. The next one is going to have a handspun silk cap weft in three different shades of brown with yellow accents. I had thought it was going to have a brown or caramel warp, but it appears to be screaming to be matched with yellow 60/2 silk....

Photo Sharing and Video Hosting at Photobucket

Don't you think?

Friday 10 August 2007

Warped, finally

I finally got the 10/1 cashmere warp completely tied onto the loom last night.

Photo Sharing and Video Hosting at Photobucket

Never again. The stuff is stunningly luxurious, but between being really soft and therefore incredibly easily broken and a being a really active, springy single, what on earth made me think using it as a warp would be a good idea?! Fortunately it's on now, and all I have to do tomorrow is tie up the pedals before I'm ready to weave.

Lesson of the month: never, ever warp with a single yarn if all you have is a warping board. It's just not worth the angst unless you can do a sectional warp under constant tension. Save it for the weft, where it has real potential for use in collapse structures and textured weaving....doing just that is one of the many rich and varied ideas that are floating around in my head. I need to weave faster so I can get some of these into fabric.

Friday 3 August 2007

"Apple Orchard" - the pure silk scarf

It's bad of me to post this, as I still haven't documented the five metres of tea towel fabric I wove while clearing off the old loom yet, but this is the first project I've made on the new loom, and I'm pleased to report that it's working and balanced. There's also a post about building and balancing a countermarche loom floating around in my head, which needs to be posted at some stage.

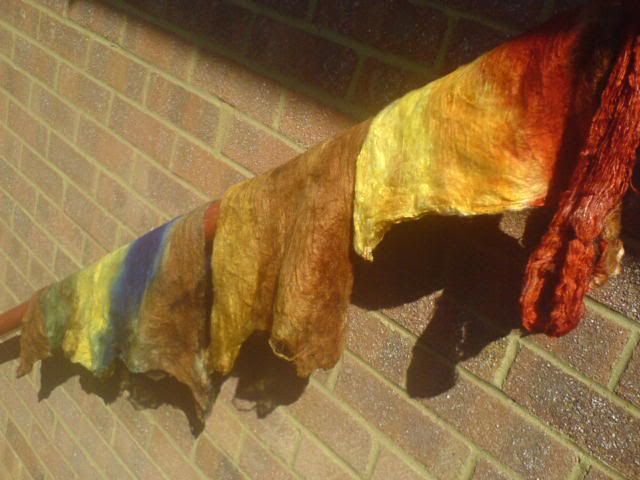
As part of seeing whether I can make this hobby defray its expenses, I decided to hand-paint several silk caps, with the idea of making individual scarves for sale. Each silk cap, when dyed and spun finely, yields enough silk thread for one scarf. I had four silk caps, so I painted each a different colour:

Photo Sharing and Video Hosting at Photobucket


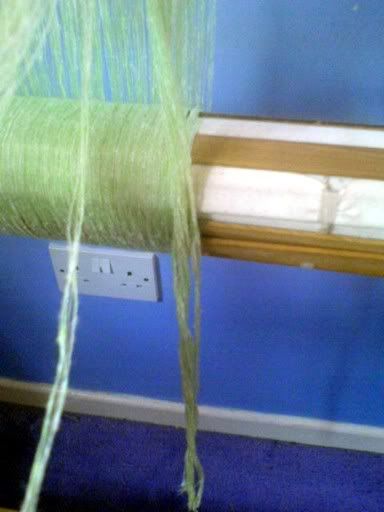
The first to be spun was the green, yellow and brown silk cap, furthest from the camera in this photo. I had an apple-green and white 10/1 Shantung silk noil yarn that seemed ideal to try rather than rayon, which would of course give a pure silk scarf and add that bit of extra luxury. I wound a 7.5-inch-wide warp at 24 epi and started weaving the spun silk cap into it. I chose a simple plain weave, so the weave didn't distract from the pattern. In addition to this, of course, a plain weave would quickly allow me to spot any problem with the balance of the loom.

Photo Sharing and Video Hosting at PhotobucketPhoto Sharing and Video Hosting at Photobucket

And here's the scarf finished, fringed and washed.

Photo Sharing and Video Hosting at Photobucket

A close-up of the weave structure:

Photo Sharing and Video Hosting at Photobucket

Washed and with shinkage, I have a 6.5"-wide scarf. A 2.5-metre warp gave me a 1.9 metre (76") long scarf, which is a good proportion.


I put this up for sale on etsy, today. Let's see how it goes. In the meantime, I'm putting a 10/1 cashmere warp in brick red on the loom, to make a scarf with the red/orange/yellow silk cap. This warp is proving as much of a pain as the silk, because it's so fine and soft it keeps breaking. I'll be saving this cashmere for use in a weft, in the future, I think. One of the big things I've learned from these two projects is that I never want to use 10/1 yarns as a warp, ever again. You can see in the second photo, the way the singles wrap around themselves when not under tension. That and the ease with which they break are a huge disincentive.

Monday 25 June 2007

And the spinning...

Having a weekend to potter about the house meant that I not only got my weaving room sorted, it also meant that I finally got around to washing a whole pile of handspun fibre that had been waiting for a critical mass to form.


A whole pile of wet fibre on the kitchen sink...

Photo Sharing and Video Hosting at Photobucket

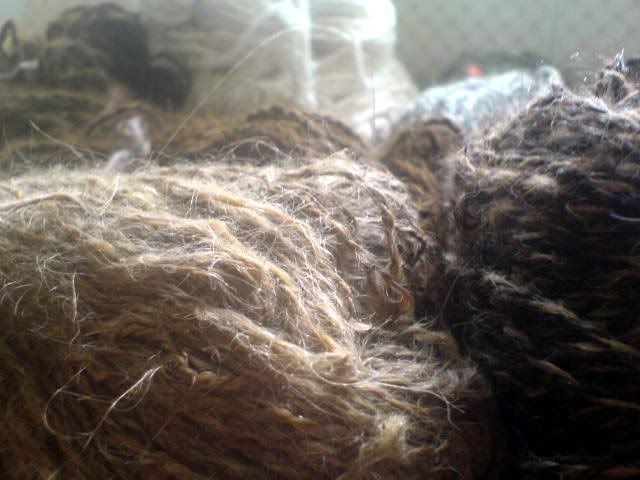
A close-up of the structure of the troublesome suri alpaca I've been discussing for the last two years:
Photo Sharing and Video Hosting at Photobucket

...beautiful, isn't it?

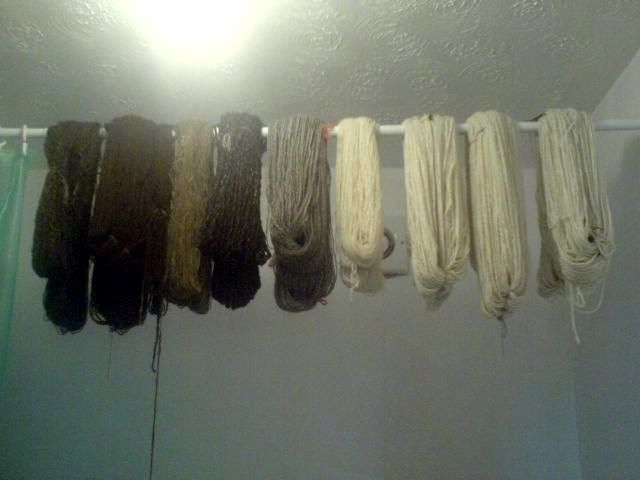
And finally, my bathroom, smelling like a wet animal:

Photo Sharing and Video Hosting at Photobucket

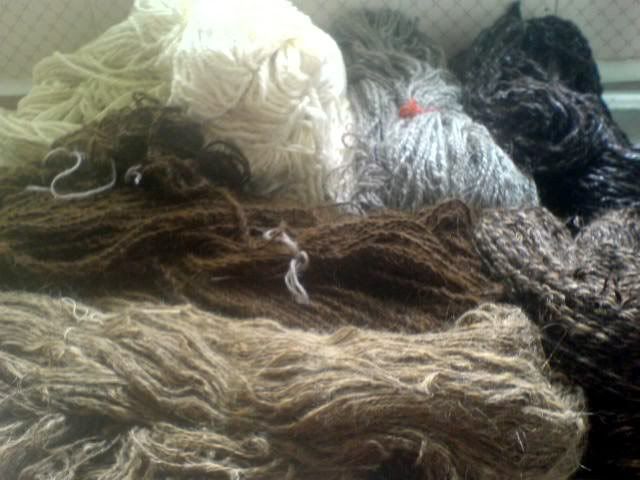
From left to right: suri alpaca and dark brown alpaca plyed together to make a lovely multi-colour yarn, dark brown alpaca, the suri alpaca (finely spun), black welsh wool (thickly spun), grey welsh top wool, 21-micron Australian merino, spun as singles, and three skeins of the same merino, spun as a chunky wool. This is all part of the 2 kg of merino top I brought from Australia.

The Merino will probably end up being knitted into a sweater, if I ever decide to make my peace with knitting. The welsh tops will become part of the experimental rug I'll be making soon, and the alpaca is destined to eventually become part of the alpaca and wool hall runner project.

I know how to have fun, I tell you!

The 'seafoam' silk and rayon scarf

With the new loom happening, I decided to finally do something about the spun, hand-dyed silk cap. I decided that the complexity of the colour in the spun silk would overwhelm any pattern so decided that a plain weave on a puce rayon warp was the way to go. So I wound a 10 inch-wide, 2.5-metre warp, which would allow for a 1.8 metre scarf. Plain threaded at 15 epi with the warp at slightly fewer ppi, the plan was for a slightly open, delicate weave.

Packing the warp with newspaper gave differing tensions along the threads, which meant that the warp would shuffle a little as the warp was wound on. Normally this would be a problem, but it gave the effect I was looking for: a shifting weft pattern that resembles foam on a green-blue, tropical sea. I'm really pleased with the way it's turned out. Even more amazingly, considering I didn't bother measuring the length of the silk but put it on the shuttles straight from the bobbin, one silk cap was enough for an entire scarf!

The result is a sumptuous, delicate scarf that's going to be both cool for summer and warm for winter.


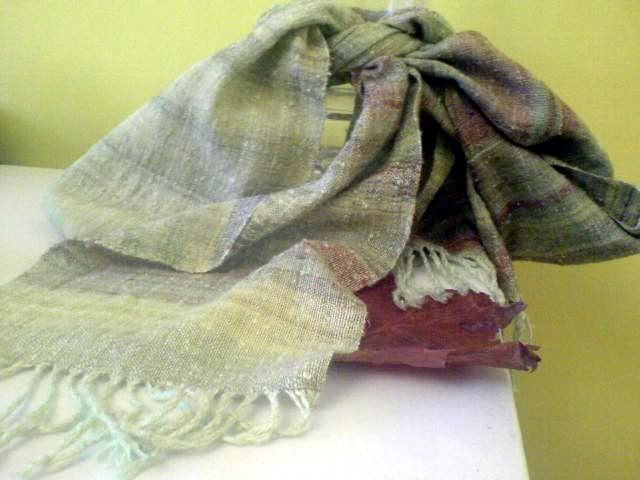
The scarf, off the loom, fringed and washed, but obviously not pressed yet:

Photo Sharing and Video Hosting at Photobucket

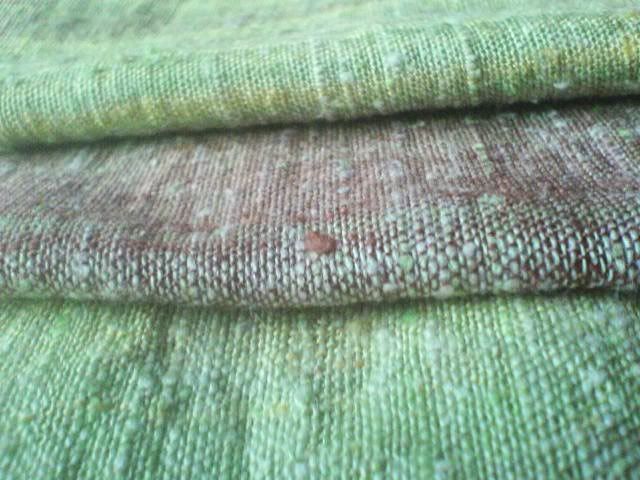
And a close-up of the weave structure:

Photo Sharing and Video Hosting at Photobucket


I'm really pleased with the way this has turned out. I'm seriously considering replicating this project in different colours, and using either silk or cashmere as a warp, and then trying to sell them. I'm starting to see the potential for filling a niche for nice, artisanal, fine silk and cashmere garments. I may this a hobby that pays yet.

In the meantime, the debugging continues. I have some dishcloths on the loom at the moment in 8/2 cotton, to prove that it can weave straight fabric (it can), and then I might make some 25-count linen for a cross-stitch project I need to remake (I had a lovely cross-stitch that H asked to keep when I moved here). That ought to happen in the next week or two, and then I'm going to make an expermental rug. I'm constantly amazed at just how much faster having foot pedals and a boat shuttle can make one's weaving, as opposed to having to flick swtiches on a table loom and unwind weft from a stick shuttle.

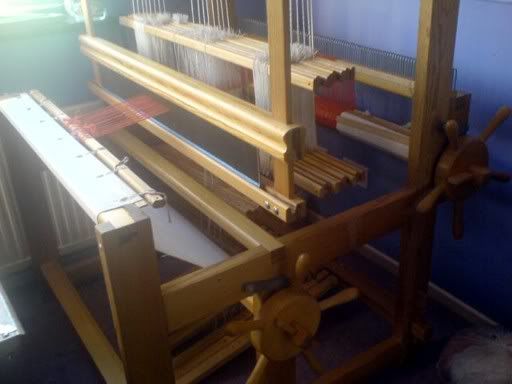
I've also just upgraded my loom (a 4-shaft, 70cm weaving width Glimakra Ideal). I've just bought an 8-shaft, 100 cm Glimakra Ideal. It's countermarch rather than counterbalance which will give better shed, and would be converted to a 16-shaft dobby loom if I want to in the future. The best part is, I bought it for just under 1/3 of what it's worth!

Thursday 14 June 2007

Returning to the loom...

It's about time I posted in here.

Not much in the way of handcrafts was done last year, aside from the occasional touch of spinning. Work, travelling for work, and a social life all got in the way. But when I got back from Chile earlier in the year, the urge took me once more to get working with my hands. I rebuilt the loom I bought last year (an elderly Glimakra 4-shaft counterbalance), and set it up for weaving. It took a little renovation, so I did a throw-away sample in 6/2 cotton to balance it and work out the kinks:


You can see in this image, the different weaves and beats I tried with the pink and white cotton to see how the loom would react. By the time I'd woven a foot of the sample strip, I was happy that I'd sorted out any balancing issues with the counterbalance. It's possible to see the fabric become more even along the length of the sampler.

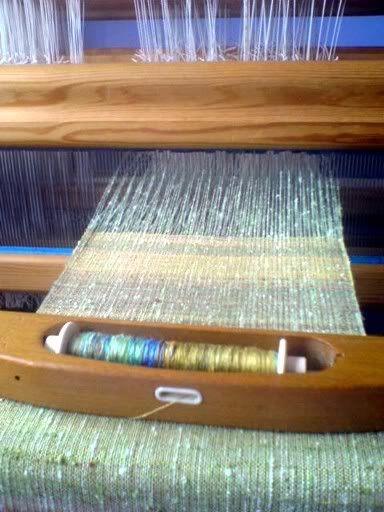
Then, because I was happy, I decided to experiment with the hand-spun, hand-dyed silk caps and some puce rayon, to see how they'd weave together. This is what you can see at the base of the sampler: first the silk cap, in mostly blues, then a blend of the silk and the rayon, then just the rayon itself.

Here's a close-up of the silk and the rayon:

Photo Sharing and Video Hosting at Photobucket

I liked this enough that I warped the loom with the rayon last week. Warping with rayon is a royal pain because it's so floppy. I got around this by doing a sectional warp, only winding 8 warps at any time and threading each of those before winding the next section. That approach still resulted in lots of tangles, but it worked with a bit of patience. I've been weaving this week and I'm pleased at just how much faster you can weave with a floor loom as opposed to a table loom: you don't have to keep lifting your hands to lift shafts when the work is all done with your feet. That means you can keep the shuttle in your hand and concentrate on balance and tension. The scarf is already 2/3 done and will be finished this weekend. And then there will be photos.

The next project will be weaving a large section of linen cloth at 25 epi, so I can stitch a cross-stitch onto it. I'm thinking I may as well wind a long warp and use some of the rest to make tea towels as well.


The spinning has been going apace as well. I finally finished the (eventually not so)awful suri alpaca. It turned into a lovely fibre once I figured out the best way to card it. It just needed to be seriously carded, rather than just flicked with a flicker, the way most alpaca is happy. I've been spinning some of the 6 kg of alpaca I brought out from Australia at the moment - a lovely dark red-brown colour. I've also bought another 8 kg of local wool in raw fleeces to add to the alpaca in a wild project I've dreamed up - making up a whole pile of hand-spun fibre and then turning it into a navajo/peruvian-inspired hall runner - my loom is just the right width for that. I'm expecting that project to take a while though...

...I'm also seriously considering doing a weaving accreditation with the aim of doing a Master Weaver's certificate. Which would eventually mean buying a larger, more serious dobby loom.