Consequently, a week or so ago, I spent an entire evening in front of the television, warping 4 km of linen around a warping board. My thoughts were of two things as my side and arms ached from swaying from side to side over the warping board: the first was vaguely wondering why at times I think that this is an interesting, rewarding hobby. The second was that I really, really want a warping mill because it's easier and because I only have the capacity to wind 5 metre warps at the moment and that's not enough. I've had enough of playing with different types of yarn now and want to start working on multiple possiblities and projects from a single warp. Hence winding a 5 metre warp of linen when I only want to make 1.5 metres of fabric for the cross-stitch project.
The linen is a lovely natural, slightly rough 6/1 linen, so it should give a nice natural, antique feel. Yes, I know I swore I'd never warp with a single yarn again the last time I did it, but I thought I'd perservere and try again. All of the linen I have is singles, and I thought it would be a chance to work on my technique of warping with singles.
Anyway, in case you were wondering what 4 kilometres of linen looks like...
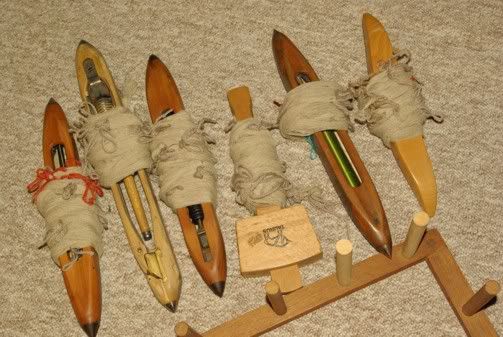
That's four groups of 120 ends and two groups of 110 ends, to give 700 ends in total. This means I'm finally going to use my loom to its full width. I tend not to chain my warps, particularly a springy single, because I find winding them around something handy like a shuttle keeps them under more tension and less likely to tangle.
I use a warping technique I've devised myself for difficult warps such as sticky yarns or singles, which could probably be summarised as a back-to-front-to-back warping technique. I find it reduces my errors and makes any easier to find while they're still easily corrected before weaving starts.
First, I tie the object the warp is held to to above the back beam, and insert the cross into lease sticks suspended from the castle.
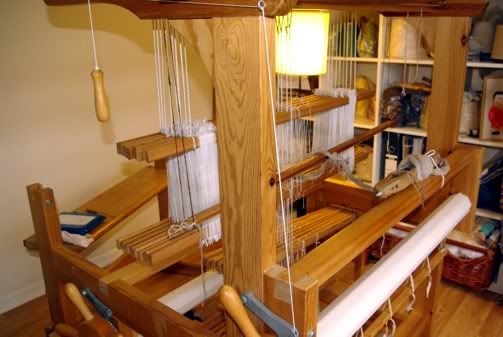
Then I move to the front of the loom remove the beater holding the reed, and thread the heddles from the front.
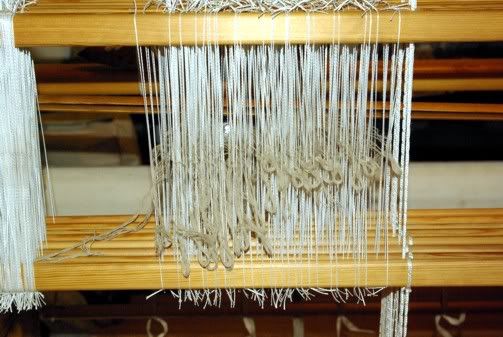
I do this for all the threads and then replace the beater and sley the reed. (You're about to see a magical change of warp here). I then tie the warp to the front apron rod:
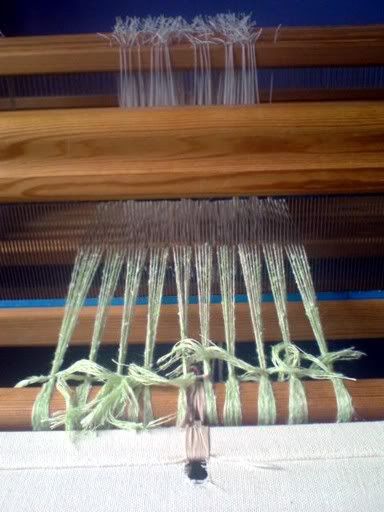
Sometimes I spread the warp into a raddle on the back beam at this stage but it's not really necessary unless the warp is really difficult, because the heddles will space the warp nicely anyway. To keep the warp under tension while I'm beaming on to the front beam, I use a water bottle technique. I keep four half-kilo plastic rice jars with handles on the lids for this purpose (I tie a loop of yarn to the handles). I tie a loose overhand knot in the warp, halfway to the floor, and slip the yarn attched to the handle of the water-filled rice jar over that knot. It feels as though the knot would slip at first but it never does. The following pictures illustrate this concept:
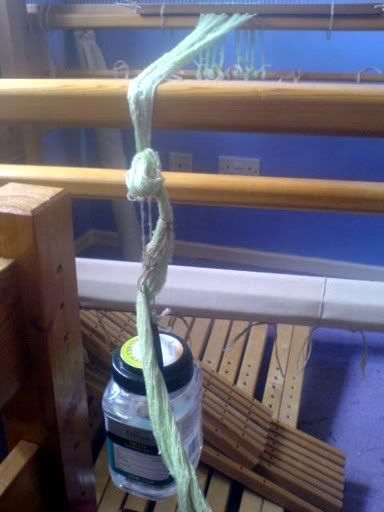
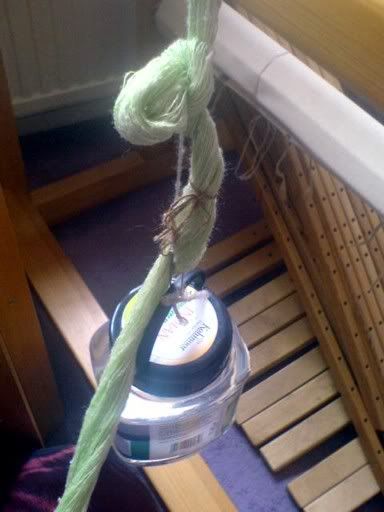
As the water bottles get up near the back beam, I remove them, untie the knot and retire it a little further along the warp. I run my fingers gently through the warp each time I move the knot, to make sure that the warp threads are all more or less in the place they should be. Also as I'm winding on to the front beam, I stand at the side of the loom and watch the heddles. If there are any crossed warps trying to go through a heddle, the heddles will draw forward. You can stop and fix any tangles before they're a problem. I stop and check every revolution or so of the front beam anyway, to make sure that tangles aren't occurring. I also put the occasional warp stick between the layers of warp to make sure it can't get caught up.
One the warp is entirely on the front beam, I bring the back apron rod up and tie the warp to that and check the tension until it's even. Then I wind the warp back onto the back beam, adding warp sticks at intervals. This step is very fast and there shouldn't be any need to watch for snags at this stage as you've already found them. When the warp is all on the back beam, recheck the tension on the front apron rod and you're ready to weave, safe in the knowledge that you have no crossed threads to worry about.
No comments:
Post a Comment